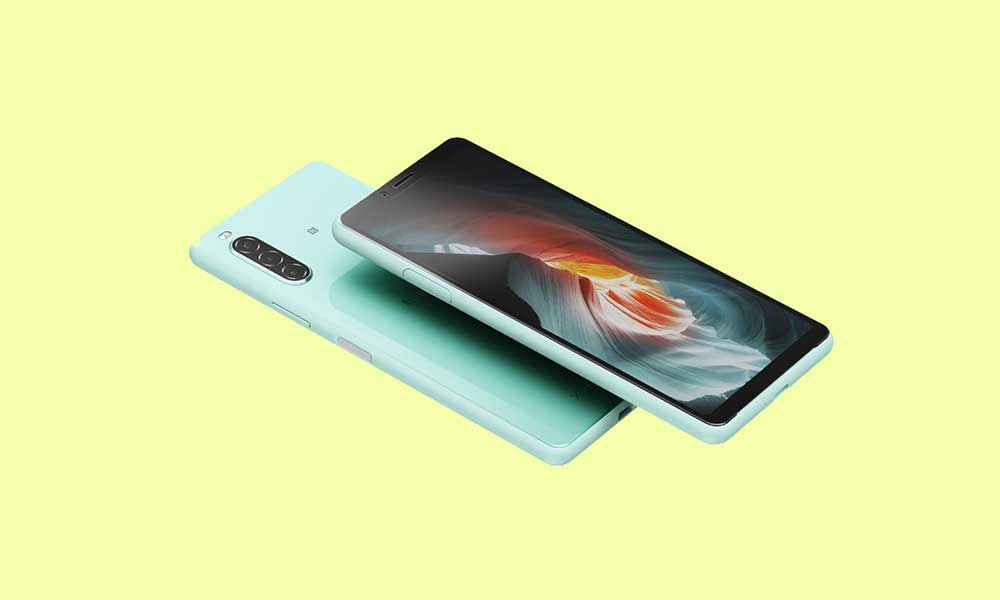
It’s worth mentioning that you will need to unlock the device bootloader at first in order to be able to flash any third-party files on your Android device. That’s mandatory. As we all know that Android is an open-source platform and it offers plenty of customizations that users prefer mostly. Meanwhile, flashing custom firmware, custom recovery, other mod files, etc will give you additional access to the device system so that you can do plenty of things or changes that were previously impossible.
What is Rooting An Android Device Mean?
Rooting is the process of gaining full admin control of the Android device. You can use the device to its full potential,‘Rooting’ means giving yourself special privilege or “root permissions” on your phone. It’s similar to running programs as administrators in Windows.
For more information about Android rooting, check out our detailed post here > What Is Rooting Android Phone? Advantages And Disadvantages
Warning
rootmygalaxy.net will not be held responsible for any kind of damage that occurred to your device while following this tutorial. Do it at your own risk. This will void the warranty of your device.
Pre-Requirements
Make sure the battery percentage is more than 60%. Make sure you have installed USB Drives on your PC. Install ADB & Fastboot drivers on your computer. Guide Quickest Way To Install Android ADB and Fastboot (with drivers) on Windows or How to Install ADB and Fastboot on Mac or Linux Now Enable Developer option. Guide How to Enable Developer Options & USB Debugging on Android Create a Nandroid backup on your device How To Create & Restore Nandroid Backup On Android Devices
How To Unlock Bootloader On Sony Xperia 10 II?
First, take a full backup of the important data by following the guide above. Open Phone app and type ##7378423## -> It will open the Service Menu. Go to Service Info -> Configuration -> Rooting Status. You will see ‘Yes’. Download and Install Google USB Driver on your PC. Head over to Developer.Sony website to get the bootloader unlock code. Select Xperia 10 II model from the list and follow the on-screen prompts to get the code. Now, enable ‘USB debugging and OEM Unlock’ option from setting> developer option>. To enable Developer Options, go to About phone and tap the Build Number 7 times. Install the ADB and fastboot drivers and then restart if you already have the driver installed then skip this step. After installation of the driver, you can see a folder named ADB in your installation directory. Enter the folder, and you find four files including ADB and fastboot.exe. Now press and hold ‘shift’ key and right-clicked anywhere in the folder and select ‘Open command window here’ or ‘PowerShell Window’
Now connect your device to PC and enter into the fastboot mode. To enter the fastboot mode of Sony Xperia 10 II, type the below command in command prompt.
In the command window, type the following command. (Make sure to replace the 0x
You’re done. The bootloader is now unlocked on your Sony Xperia 10 II device.
How To Root Sony Xperia 10 II with Magisk No TWRP?
#1 Get the stock boot image (Stock Firmware)
You can download Stock ROM of the device (You can find that on the web or Xda forum) Download the boot file according to your device. Once downloaded, unzip the file and open it, look for a .zip file. Open that file too, now you will see a file named boot.img (This is the official stock image or firmware)
#2 Patch boot image
Move the boot.img to your device’s internal storage. Download & install the latest Magisk Manager on your device Open magisk manager, On the main screen, select Install > Install > Select and Patch a File
Now select the boot image (boot.img). Magisk will start to patch the boot image. After completion, the file will be saved as “magisk_patched.img” in your Downloads folder
#3 Steps To Root Sony Xperia 10 II
Connect your device to PC and transfer the “magisk_patched.img” file from your phone’s download section to the platform-tools folder on your PC
Now issue the following command to boot your device to bootloader mode (Make sure your device is connected to the PC)
Now issue the command given below to run the fastboot mode.
Now, type the following command and hit enter to flash the patched boot image.
Wait for the process to complete. Once done, restart your handset. If in case, the Magisk Manager app not installed then manually install it and check the root status.
Keep visiting the blog for more info.


