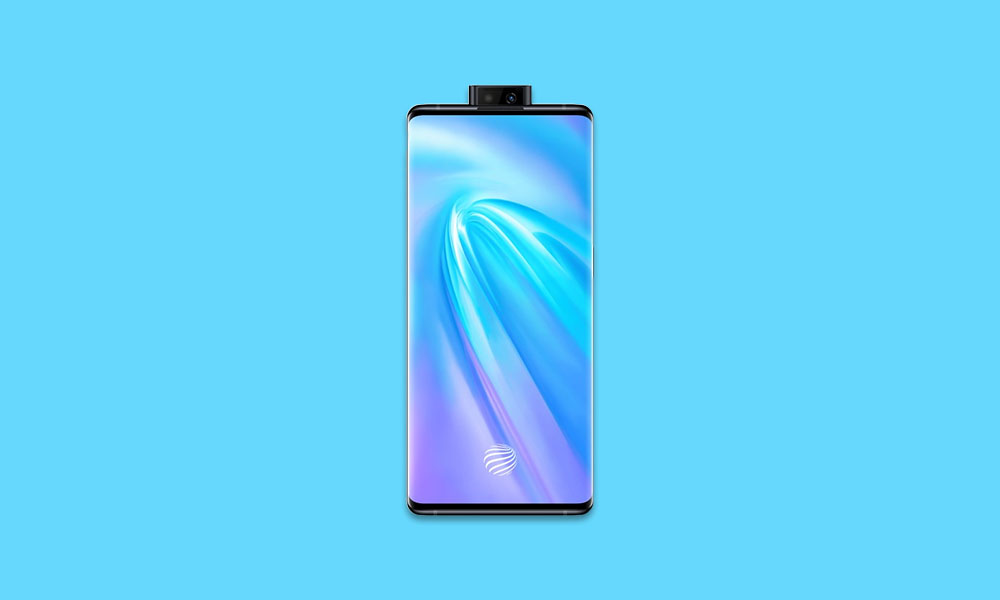
There are two types of ROMs in Android ecosystem. As I mentioned above one is Stock ROM or the Firmware which comes preinstalled with any Android device and the second one is Custom ROM or commonly known as ROM. Custom ROMs are developed by third-party developers for a specific device. Most of the Custom ROMs are feature-packed and fast which makes them a better alternative to the stock firmware. There are reasons why users need to flash the Stock Firmware or ROM on their device. With time users end up downloading hundreds and hundreds of apps which makes the device slow and if they user downloads any wrong app from play store or other unknown sources then the app may slow down the device. The common thing to do in that case is to remove those bad apps but sometimes this doesn’t work and the only thing which a user can do is flashing back the Stock Firmware and restore the device to factory settings. [su_box title=”Vivo NEX 3 Stock ROM Details:” box_color=”#004cf2″ title_color=”#ffffff” radius=”2″]
Download Format: rar/Zip Verison Firmware Type: Official Tool Supported: QFIL/QPST Tool Gapps File: Included Device Supported: Vivo NEX 3
[/su_box] Related Post
[Download] List Of Android Devices Getting Lineage OS 17 (Android 10)
[su_note note_color=”#ffded9″ radius=”2″]
Disclaimer:
RootMyGalaxy.net is not responsible for any damage happened to your device(s) while following this guide so please proceed at your own risk. However, we would be happy to help with any problems within our reach [/su_note]
Pre-Requirements:
Make sure the battery percentage is more than 60%. Download the QPST Tool. Install the Vivo Mobile Drivers on your PC. Install ADB & Fastboot drivers on your computer. Guide – Quickest Way To Install Android ADB and Fastboot (with drivers) on Windows or How to Install ADB and Fastboot on Mac or Linux Now, Enable the Developer option. Guide – How to Enable Developer Options & USB Debugging on Android Create a full backup on your device How to Backup Important Data On Android (Non-rooted users) Download and install the Android USB Driver on your PC.
You can either follow the QPST Tool method or QFIL Tool method in order to install the Stock ROM on your Vivo NEX 3 device.
Downloads
[su_highlight background=”#78ffb1″ color=”#16181b”]NOTE: We are thankful to the official uploader of the firmware file[/su_highlight]
Installation
Method -1: Using Stock Recovery
Guide: How to Install OTA Updates Zip File Via Stock Recovery
Method -2: Using QPST Tool
First of all, make sure you have followed each and every step mentioned in the pre-requisites section and download the QPST File.
After downloading, you will find two files Qualcomm_USB_Drivers_For_Windows.rar and QPST.WIN.2.7 Installer-00429.zip
Open the QPST Win folder then Install the QPST.exe on your windows Once it is installed, go to the Installed Location on the Main Drive (C) Open the QPST Configuration, Click on Add new port -> Select the com port of your device -> and close it After that Open the EMMC Software Downloader in the same folder located all the QPST Files In EMMC Software Downloader, Check program bootloaders -> Browse for the device com port Now Click Load XML Def and browse for rawprogram0.xml in folder ROM in EMMC Software Downloader (make sure you have extracted the ROM Zip file) Click On Load Patch def and browse for patch0.xml in folder ROM Check the search path 2 and browse for the folder ROM After all this click download, wait for the download to finish (it will find a new driver, install that) Now, wait for the process to finish. Once it is done, remove your device from PC and you have installed Stock ROM on Vivo NEX 3.
Method -3: Using QFIL Tool
Step 1: Make sure that your PC has Qualcomm USB drivers installed on it. (If not download and install them, check pre-requirement section) Step 2: Download the Qualcomm Flash Image Loader (QFIL) on your computer and Extract that using any unzipper app like WinRAR. Step 3: Now go to the extracted folder and Open QFIL.exe.
Step 4: Once you enter the QFIL tool, you will see the basic user interface of the tool.
Step 5: Now, Switch Off your Smartphone or Tablet.
Step 6: After your Device is powered Off, Press and Hold Volume UP Key and Connect the Device to the Computer using USB Cable.
Step 7: Now, In QFIL, Click on Browse Button
Step 8: Now locate the Firmware File (.mbn).
Step 8: Once, you have added the firmware file, the QFIL tool will automatically load the rest of the firmware data. Step 9: Now, Click on the Download button to begin the Flashing Process.
Step 10: Like all other devices and tools, this flashing Process will take up to 10-15 minutes to complete. Once the Flashing process is completed your device will be reboot automatically. We hope this guide will help you a lot. For any queries, you can comment below.


