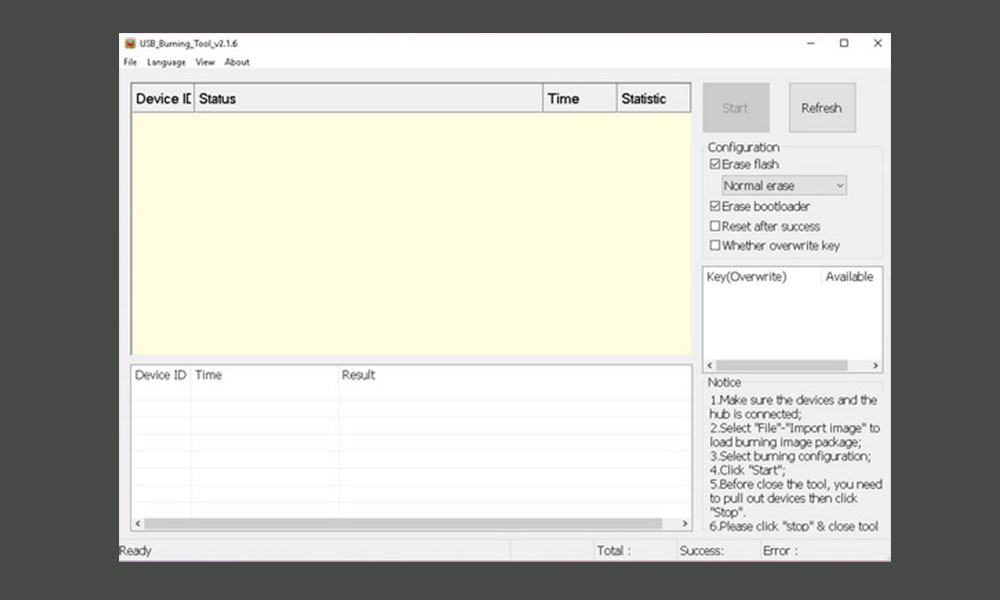
Additionally, this flashing tool is also capable to update the firmware file that has .img extension. Just like Android smartphones, the Amlogic chipset based TVs also requires a flashing tool to upgrade the firmware version. Although firmware updates are provided via OTA, sometimes some of the devices may not receive the update or the .img file can be stuck for some reason. That’s why we have to manually update in most cases. Before using this tool, make sure that your Android smart TV is powered by the Amlogic processor. This is a small tool that runs on Microsoft Windows and can flash the stock firmware on your Amlogic chipset devices. Now, let’s take a quick look at some of the useful features below.
Amlogic USB Burning Tool Features
Installer: It comes with an installer version that needs to be installed on your PC. Simply run the setup file and follow the on-screen instructions to complete it. Flash Firmware: By using the Amlogic USB Burning Tool in order to update the firmware of your Amlogic chipset powered device. Just launch the tool > load the firmware > import .img file > connect your TV to the PC using a USB cable > click on Start to flash the file. Other Functions: You can also perform several other functions to your tool such as wipe data, wipe flash, delete the bootloader, overwrite key, and more. You can also switch to multiple languages. You can adjust the main grid from the View > Select menu. The grid can also show device ID, Progress, Time, Statistics, Overwrite Key, etc. While there are four types of Erase Flash supports like Normal Erase, Force Erase, Erase All, Force Erase All.
Download Amlogic USB Burning Tool (All version)
v3.1.0 – Link (Latest) v2.2.0 – Link v2.1.7.3 – Link v2.1.7.1 – Link v2.1.7.0 – Link v2.1.6.5 – Link v2.1.2 – Link v2.0.7 – Link v1.6.2.0128 – Link
Steps to Install Amlogic USB Burning Tool and Firmware Flashing
Download the latest flashing tool from the link above on your Windows PC/Laptop. Unzip the compressed file and open the extracted folder. Next, connect your Android TV with the PC using a USB cable. Double-click on InstallDriver.exe and follow on-screen instructions to install it. Now, open the ‘USB_Burning_Tool folder and click on the ‘USB_Burning_Tool.exe’ to start the flashing tool. Follow the on-screen instructions to proceed. The tool language will be in Chinese. Change it to English via clicking on the second top category and select English. Boot your TV into recovery mode. You can check the user manual of your TV to do it. Make sure to reconnect your Android TV with the PC. Once connected, click on File > Locate your downloaded .img firmware file. Uncheck the Overwrite key box. Now, click on Start and wait for the flashing to complete. Once done, click on Stop. Remove the USB cable and your TV will reboot.
Keep visiting the blog for more info.
