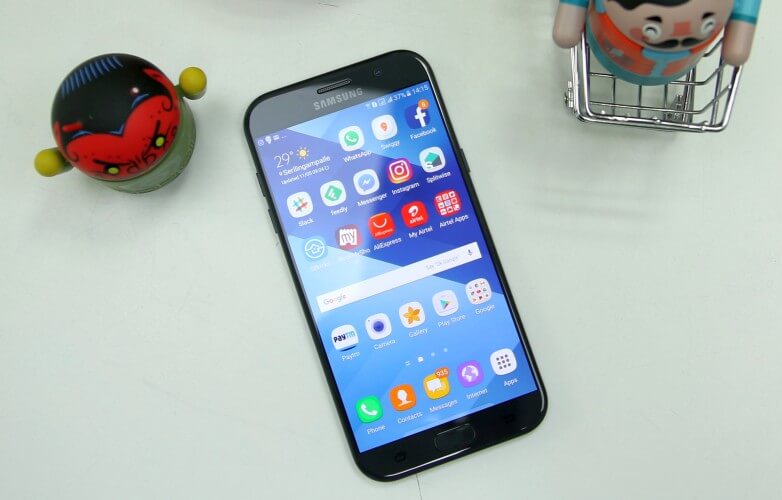
The Galaxy A7 official Nougat update brings features and improvements such as – better app installation speed, revamped notification shade, quick settings menu etc. This update also marginally improves the performance and battery life. Users have started receiving the updates via OTA and are really happy with it. As the update is OTA, some of the users have not yet got the update and also those who are running on custom recoveries or have root. In this article, we’ll be sharing If you are a Samsung Galaxy A7 2017 (A720F) user then you can manually check for the update from settings > about phone > update.The update is being rolled in a phase by phase manner so it may take few days to reach every corner of the Globe.But if you can’t wait for the update to come to your device, manually install it via Odin flash tool by following the guide
DISCLAIMER
RootMyGalaxy.net is not responsible for any damage happened to your device(s) while following this guide, proceed at your own risk.
PRE-REQUISITES
This update is only for Galaxy A7 2017. Make sure that the USB drivers for your Android device are installed on the PC. Enable USB Debugging On Your Phone.Guide > How to Enable Developer Options, USB Debugging and OEM Unlock On Android Follow the below Guide Exactly or else it may lead to brick your device. RootMyGalaxy.net is not responsible for any damage. We recommend to take complete backup and proceed. Maintain 50-60% battery to prevent sudden shut down between the process.
Downloads
Download Latest Odin Flash Tool Download A720FXXU2BQI2 Firmware for Galaxy A7 2017
Steps to Install A720FXXU2BQI2 Nougat On Galaxy A7 2017 | Android 7.0
Download the Odin flash tool and install it on your PC Now download the firmware file (check the model number to download the right file) Now follow the linked guide below to Install A720FXXU2BQI2 Nougat On Galaxy A7 2017 | Android 7.0
[su_button url=”https://rootmygalaxy.net/how-to-install-a-stock-firmware-using-odin/” target=”blank” style=”flat” background=”#000000″ color=”#ffffff” size=”5″ wide=”yes” center=”yes” radius=”5″ icon=”icon: external-link-square” icon_color=”#2fec42″ text_shadow=”0px 0px 0px #010c16″]How To Install A Stock Firmware Using Odin[/su_button] Hope this article was helpful to you. In case you’ve got any doubts related to this post, leave them in the comments section. We’ll be glad to help you out 🙂
