The Xiaomi Mi 8 SE is a mid-range device comes with a 5.88-inch touchscreen display with a resolution of 1080 pixels by 2244 pixels. It runs Android 8.1 Oreo at the top of Xiaomi’s MIUI 9.5 out of the box. The Mi 8 SE is powered by octa-core Qualcomm SDM710 Snapdragon 710 (10 nm) coupled with 4/6GB of RAM. The phone packs 64/128 GB of internal storage. The Mi 8 SE packs a dual rear camera on the backside. There are 12-megapixel (f/1.9) primary camera and a 5 MP, f/2.0 depth sensor. On the front side, it features a 20-megapixel camera. The Mi 8 SE houses a Non-removable Li-Po 3120 mAh battery with Quick Charge 3.0 support. Google Pixel devices comes with Google Camera pre-installed. The app has some powerful AI-based software coding and the image output comes very stunning than any other camera app. Although there are some of the affordable flagship devices available from Xiaomi that can deliver awesome images even in low light but not up to the mark. Whereas the budget segment Xiaomi and Redmi devices also come with so-called higher resolution cameras but the actual image quality seems so dull with not so clear as well.
Xiaomi Mi 8 SE Google Camera Features
Most of the Google Camera features have been added to the build.
Google Lens Panorama Video Capture Portrait Mode Photosphere HDR+ Mode Lens Blur
Download Google Camera APK For Xiaomi Mi 8 SE
[note type=”note”]Other Devices Gcam: Download Google Camera APK For All Xiaomi and Redmi Devices (Gcam)[/note]
How To Install Gcam On Mi 8 SE
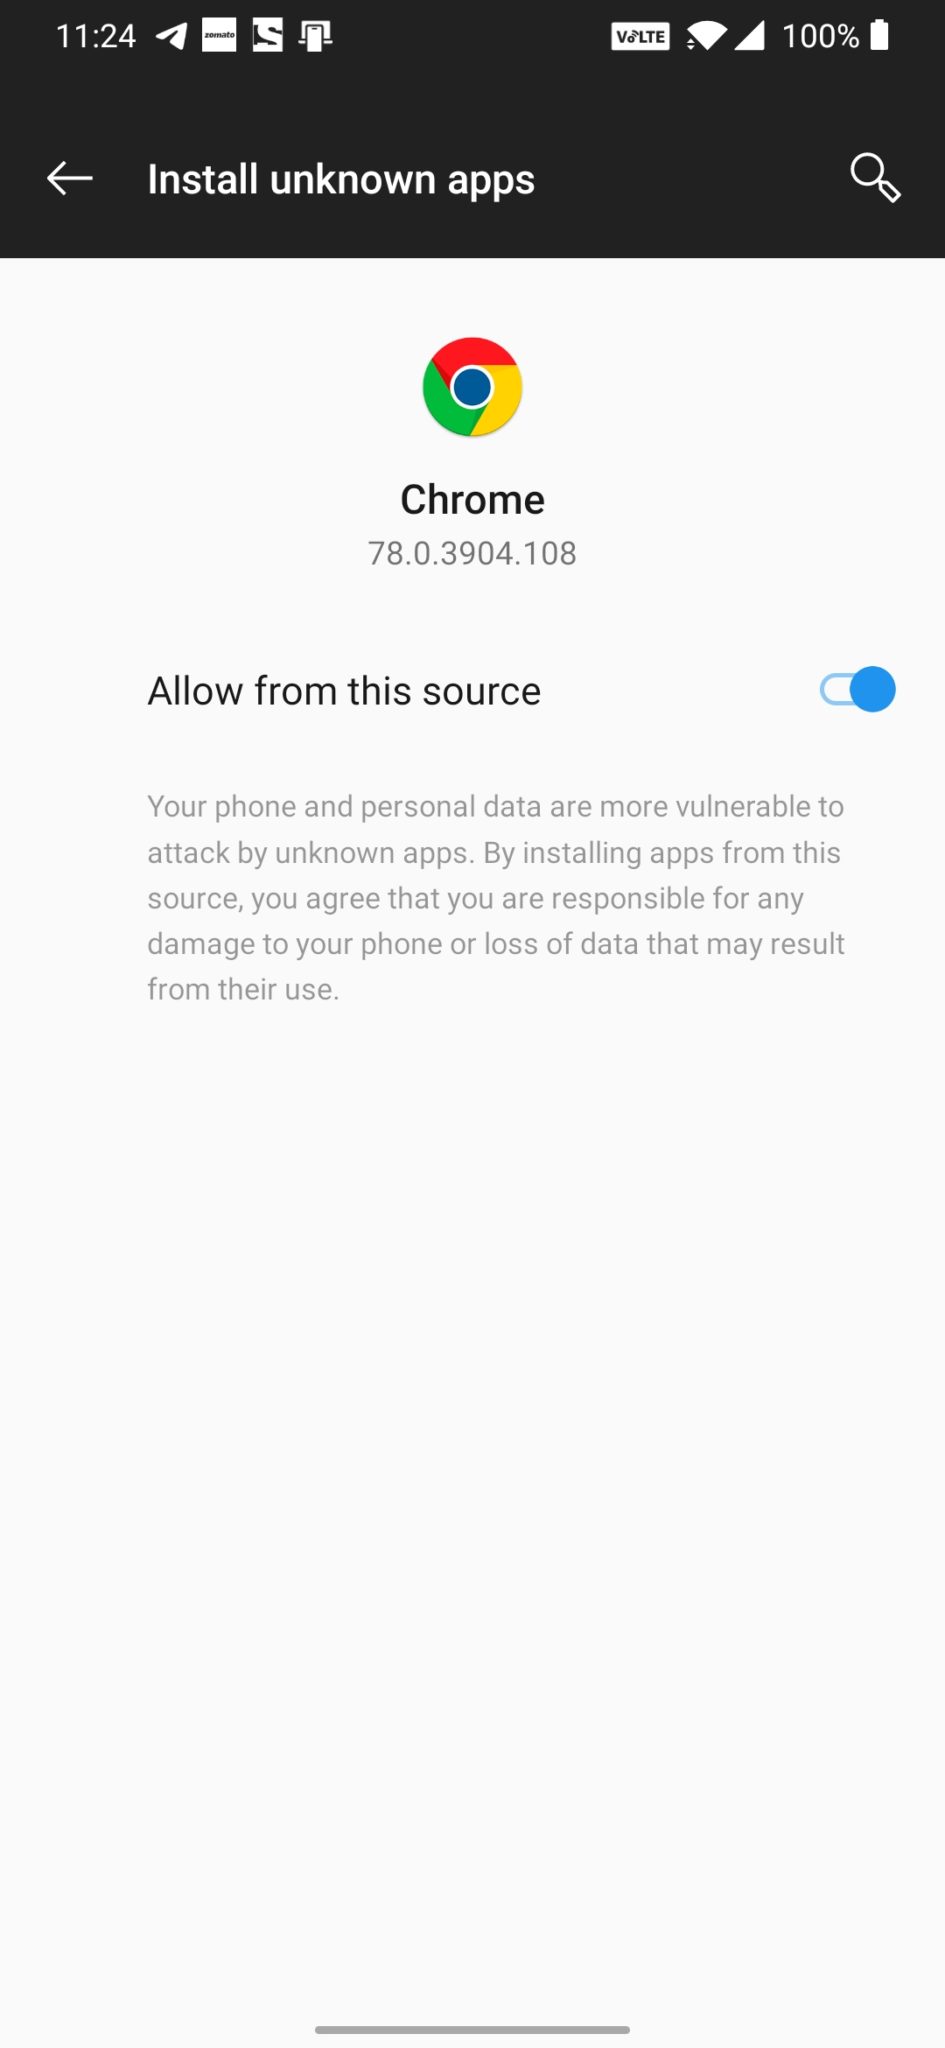
First You Have to allow Google Chrome to Install Unknown apps (If you are using Chrome to download the Gcam apk) Go to settings > search unknown sources > click on Install Unknown Apps
Now Go to Chrome (Assuming you will use chrome to download the apk) and enable Allow from this source
Download the Gcam from the download section above Once the download is completed, click on the apk and install the app.
Recommended Settings:
Open the GCam app -> launch Settings > select Advanced. Tap on Fix -> RAW format -> select RAW_sensor. Set the final JPG quality to 100%. That’s it. Enjoy the Google Camera.
We hope that you’ve found this guide helpful. You can ask in the comments below for any queries.


